Tombs of Terror Strategy Guide to Chapter 1: The Lost City of the Tol'Vir
Tombs of Terror is the Solo Adventure accompanying the Saviors of Uldum expansion where you get to play as 1 of 4 League of Explorers members with a new fascinating dual class system and 6 brand new treasures for each, in the familiar Dungeon Run style. The Adventure consists of 5 Chapters, the first 4 of which culminate in fighting a dreadful Plague Lord, who has a persistent health pool between fights, leading to the fifth Chapter dubbed The Finale, which is as of yet a "delightful mystery"...
This is the Guide to Chapter 1
- Release Date: This Chapter unlocks for everyone for FREE on September 17th.
- Location: Takes place in The Lost City of the Tol'Vir, a Dungeon area known from the MMORPG.
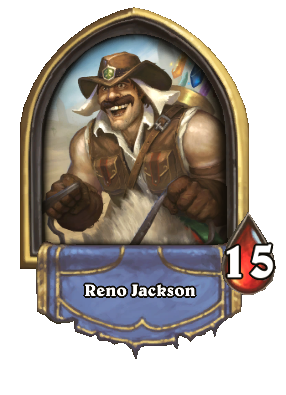
- Hero Unlock: Reno Jackson.
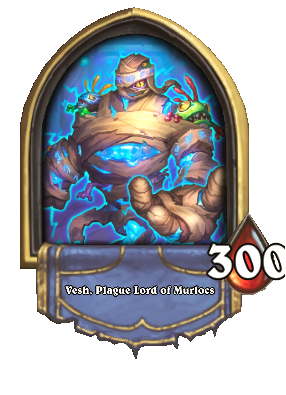
- End Boss: Vesh, Plague Lord of Murlocs.
- Chapter Twist: Twist - Plague of Murlocs
- Number of Encounters you need to win: 7 + the Plague Lord.
- Rewards: 3 Saviors of Uldum Packs for beating 5 bosses in a Chapter.
- The Encounters listed here are accurate until you have beaten the Chapter, then all bosses from all defeated Chapters can show up.
- If an Encounter is not on this list yet, let us know in the comments!
Reno Jackson. Dual Classes: Mage and Rogue.
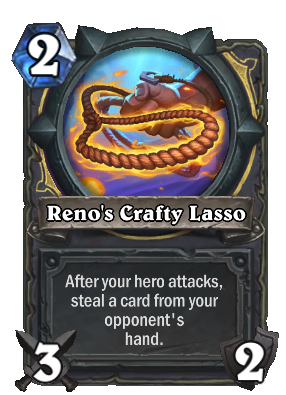
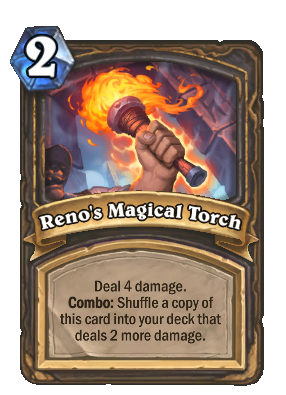
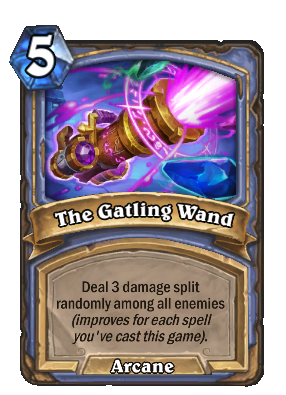
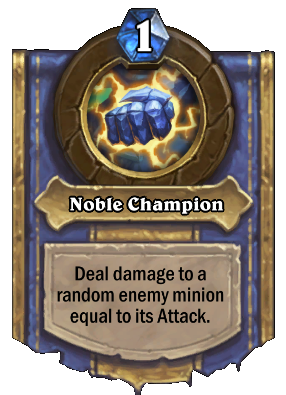
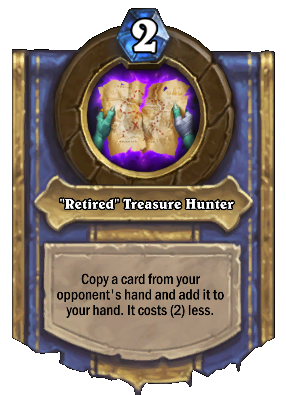
Treasures


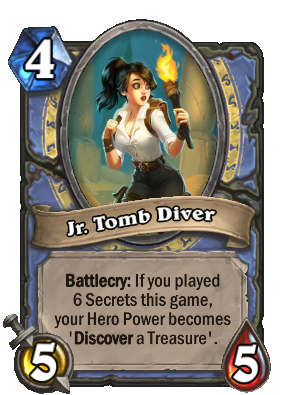
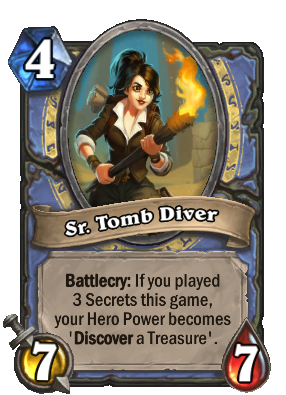
The Jr. Tomb Diver will turn into the Sr. Tomb Diver on completion of all 4 chapters.
Hero Powers

Starter Decks
|
|
|
|---|---|
Minion (5)
|
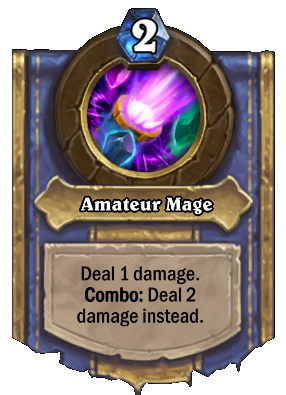
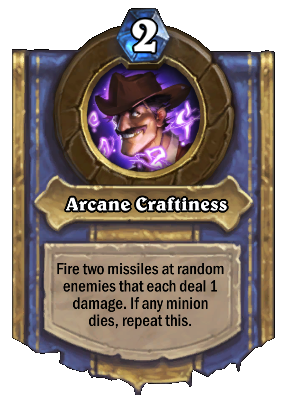
Ability (5)
|
| Loading Collection | |
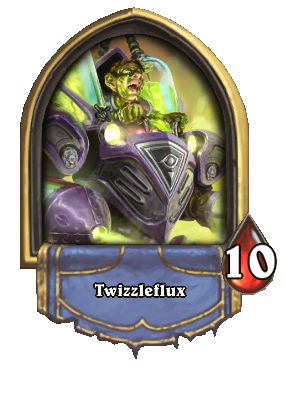
End Boss:
Vesh, Plague Lord of Murlocs
Every Chapter in Tombs of Terror ends with a fight against a Plague Lord. These are not your typical end bosses. They have persistent health pools, meaning that any damage you do to them persists and on your next run you start the fight with however much health you had left after the previous run and not with the Plague Lord at full health again.
The Plague Lords are tricky fights however, because at certain health points levels the Plague Lord will change tactics and get a new Hero Power, making them even more deadly. We suspect this is at 200 life left and 100 life left.
Portrait and Hero Powers


Tactics for Vesh, Plague Lord of Murlocs:
For extensive tactics for Heroic Vesh, PLague Lord of Murlocs, check our post right HERE
First 100 HP: Immune the entire time. as seen in Made of Murlocs Just try to keep a steady board to kill 34 Murlocs so you get to phase 2.
Second 100 HP: He will start summoning Scaly Golem but this honestly benefits you quite as much as it does the boss, usually. Especially if you can keep his board smaller than your board. He will at this point start throwing Plague of Murlocs and Earthquake at you to try and keep your board under control. And throughout he will continually play, summon and resummon Murlocs with every imaginable Murloc card. It's chaos in a fun way, but you are constantly in a fight to both try and keep board control and hit his face as much as you can to bring him down lower before your almost inevitable demise.
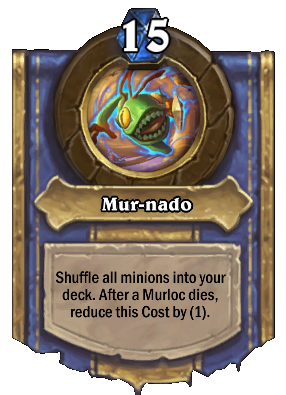
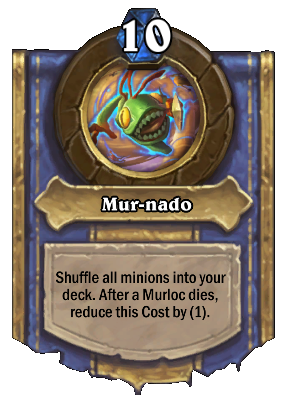
Third 100 HP: Reports so far are that people were either steamrolling at this point or nearly dead and running out of options. His Hero Power at this point was Mur-nado. What mostly killed me during this Encounter was his summoning, resummoning and playing of Old Murk-Eye, which typically was an 8 or 9+ attack minion, that he typically went face with when given the chance.
Alternate Review:
Conclusion: Fun Encounter, but bring AoE or a broken deck and strap in for some serious chaos.
As with all Plague Lords, you will not be able to rush him down. Therefore, you must build your deck throughout your adventure keeping that in mind. Each of the Plague Lords will have 3 different stages of the game. Don't count on milling him. He'll keep refilling his deck every 100 HP. Here’s a brief description of how each of them plays out.
First 100 HP: Vesh is Immune the entire time. The only way to decrease his health is by killing off his Murlocs. Just try to keep a steady board, because you’re going to need to kill 34 of them. He’ll tend to only play Murlocs without too many big swings, so don’t expend your aoe removal too early.
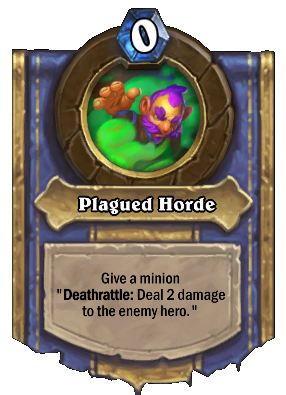
Second 100 HP: He'll immediately transition into a less passive strategy. Once he’s down 100 Health, he’ll have access to large board clear such as Earthquake. Then he’ll begin to frequently fill up the board with boss cards that summon tons of Murlocs. He will likely be able to fill his whole board every turn even if it starts out empty. His Hero Power also changes to replace one of his Murlocs with a 0/4 Taunt minion that gives all Murlocs +1/+1. However, this also applies to your own Murlocs. This chapter’s gimmick gives you enough Murlocs to fight back with. When you decide it’s time to kill one of his Scaly Golems, try to make sure you’ll benefit from the Deathrattle more than him.
Third 100 HP: This is where he has access to a dangerous level of board clear. He’ll be able to shuffle every minion on the board into his deck. However, some of his Murlocs need to die to decrease the cost of that Hero Power to use it, so you have some degree of influence as to when he can use it. Note that he will only use it if your side of the board is much better than his. This is where you need to find a perfect balance between having a board that’s not to good and not too bad. If you intend on finishing the entire boss fight in one run, make sure to conserve your resources as best you can. This is where your cards are more scarce. So when he shuffles away the whole board, make sure you have other minions to play to keep up the fight.
Other Bosses:
If you are looking for an Encounter and Hero Power not listed yet, check our datamining HERE.

Tactics:
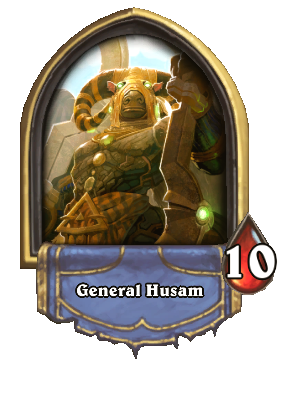
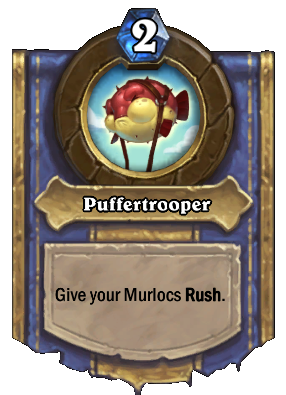
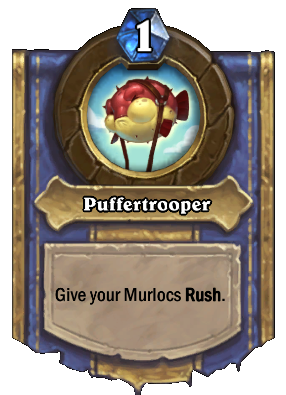
General Hussam: Has a Warrior style deck, with removal and armor giving minions. His Hero Power means that any minion, including the myriad Murlocs that get automatically summoned from his deck, have Rush. If you happen to be unlucky enough where he gets Siltfin Spiritwalker and you have no direct removal, he can just clear your board with the Murlocs he keeps drawing. The good part is that this burns through his deck and he's likely to die of Fatigue (like he did with our run). Then again, his Murloc shenanigans were the only thing preventing us from swiftly killing him, so he would have died fairly easily either way.

Tactics:
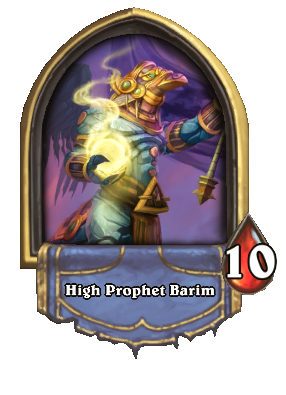
High Prophet Barim: Small Priest, Deathrattles and Reborn minions. His strategy conists of summoning sticky minions and keeping yours down with his hero power.

Tactics:
Siamat: Has a deck full of Elementals and Shaman cards, like Earth Elemental and Sandstorm Elemental and Servant of Kalimos. Also has Bog Slosher which he smartly used to return and buff the Sandstorm Elementals. All in all quite doable if you maintain board control, but it will take some work to keep it and run him out of cards in hand. At that point he starts using his Hero Power more to summon quite annoying elementals. On my run he was basically dead at that point though, thanks to a 4/10 Doomhammer I picked up in Bob's Bazaar.
Tactics:
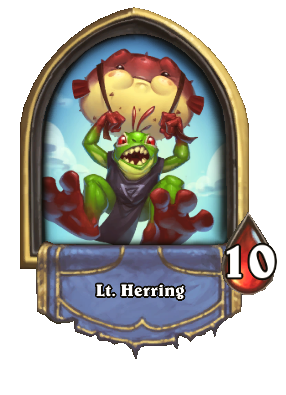
Lt. Herring: Not much can go wrong here. Just watch out for his Life Steal murlocs to not foil your plans
Tactics:
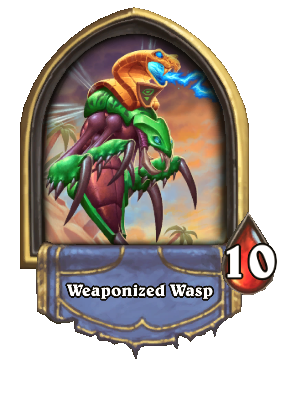
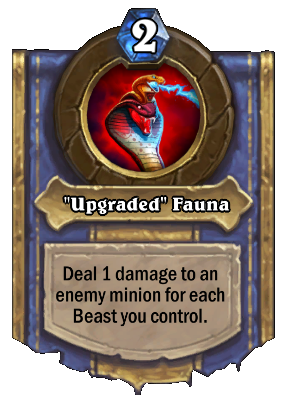
Weaponized Wasp: You have to somewhat control his board, or his Hero power that deals damage with more beasts will get to deal too much damage. Otherwise, just get facedamage in.
Tactics:
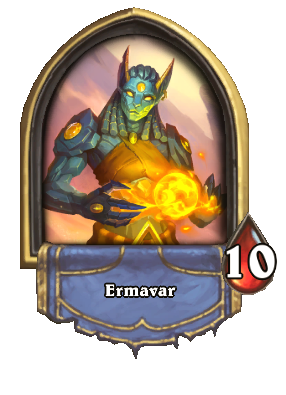
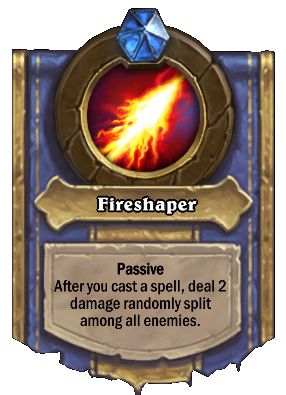
Ermavar: Tricky opponent with an Elementals and Spells deck. Has Flamewaker and Jan'alai, the Dragonhawk in it's deck, so watch out for Surprise Rag!
Tactics:
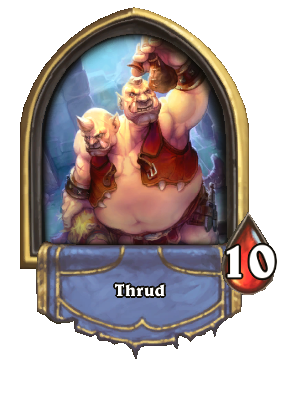
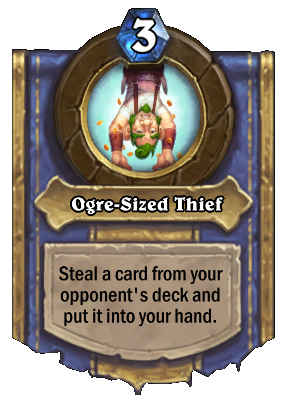
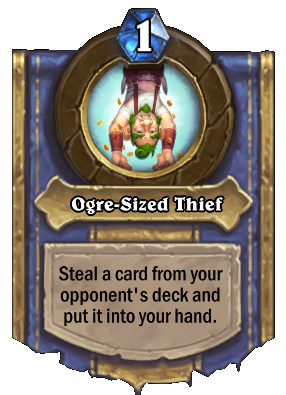
Thrud: Basically anything that steals in some way, like Pilfer and Cutpurse + Ogre cards like Ogre Brute. Seemed trivial fight.


Tactics:
Winged Guardian: Uses it's Hero Power on Egg Minions with Deathrattles.
Tactics:
Ol' Barkeye: Hunter, with many Hunter and weapon cards including secrets, tricky to deal with his board sometimes. Has Wild Bloodstinger (or got it from his Hero Power) so watch out! In general not too hard, unless his Hunter synergy is lucky.
Tactics:
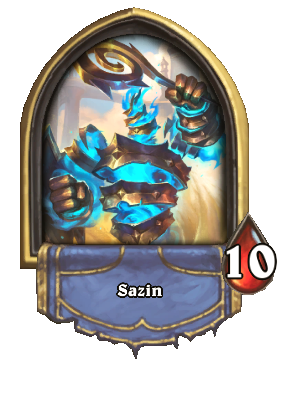
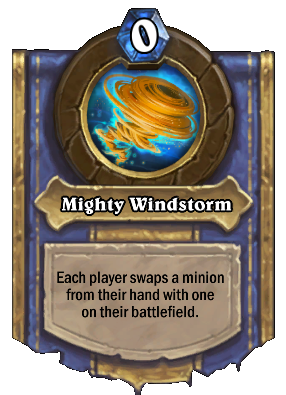
Sazin: Constantly swaps minions on the board. However, if she has nothing on the board, she can't cheat any of her big things onto the board. Keep her board empty as much as possible!
Tactics:
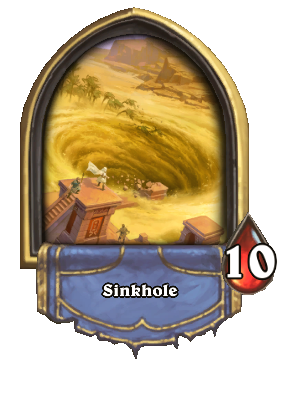
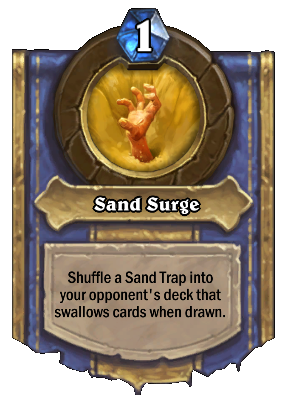
Sinkhole: It's Hero Power is probably meant to be annoying, but it wasn't for me. The loss of cards could be significant, because it uses it's Hero Power every single turn. It's deck seemed unremarkable. It had some wild life cards from SoU like Wasteland Scorpid and BEEEEES!!!
Tactics:
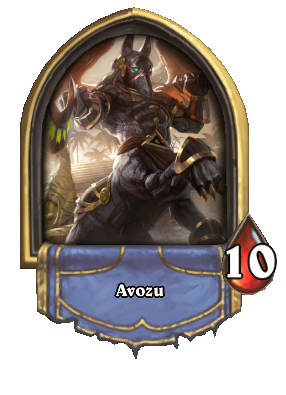
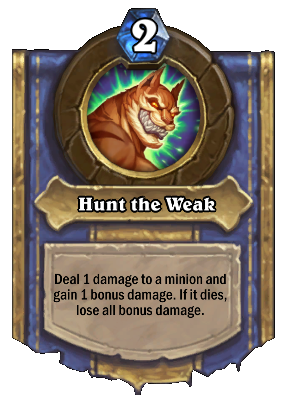
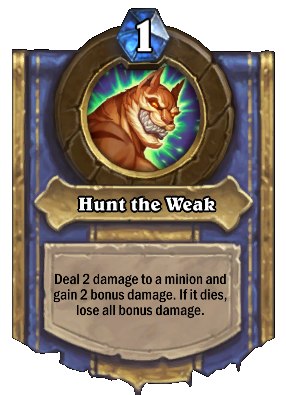
Avozu: Deck full of Hunter synergy. Is quite clever with it's Hero Power, always trying to increase it's damage by not killing minions with it. Tricky, but my treasures made enough of a difference that he was not too much of a problem.

Tactics:
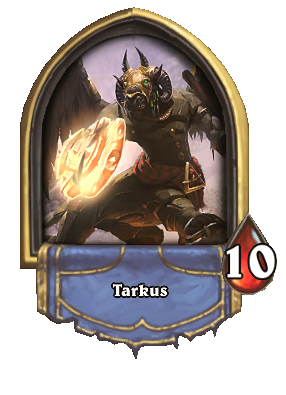
Tarkus: Paladin type deck with Brazen Zealot and both Sunkeeper Tarim and Eadric the Pure. Mostly tried to control the board, and keep itself alive with Heal and Life Steal cards. It did not use it's Hero Power at all in the game we had against it.

Tactics:
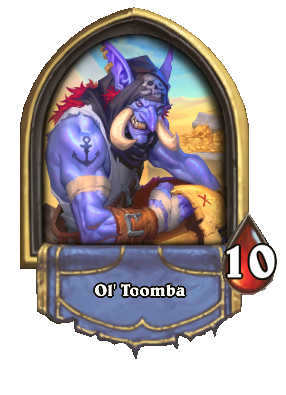
Ol' Toomba: Pirate deck with some Thief Rogue influences. Watch out for Edwin VanCleef and Captain Hooktusk.
Tactics:
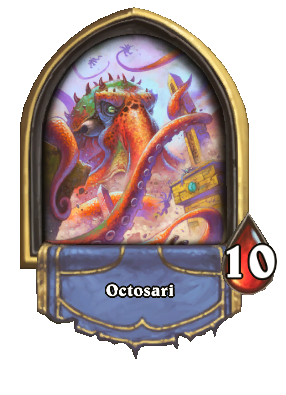
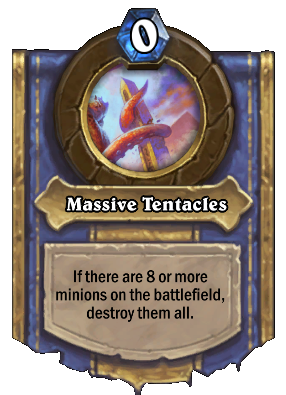
Octosari: Everyone's favourite tentacle monster! Token Druid. Hero Power tries to clear board by summoning enough guys to meet 8. Even when you have 7 and he has none, the random Murlocs summoned from the chapter gimmick can still be enough to eliminate all your minions. Try to keep it at 3-5 minions while keeping his board to a minimum. He can overwhelm you if he has a whole turn's worth of mana and you have no minions.
Tactics:
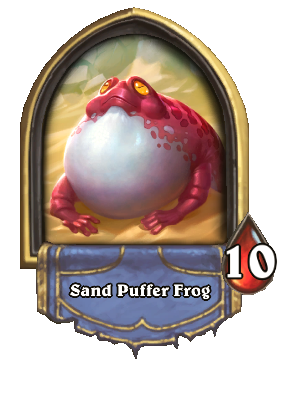
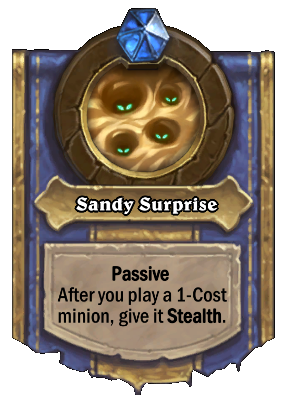
Sand Puffer Frog: Odd deck of mostly 1 cost minions, mostly beasts. Can be tricky if it pops multiple 1 cost minion down in stealth when you are low on health. Has Cave Hydra presumably as a sort of AoE option.


-
View User Profile
-
Send Message
Posted Sep 20, 2019 (Saviors of Uldum)titanic ring is indeed awesome. Made me win against murloc plaguelord in heroic mode on first try
-
View User Profile
-
Send Message
Posted Sep 17, 2019 (Saviors of Uldum)I manage to kill Vesh by the first attempt thanks to Stolen Titan Secrets Octosari heropower "destroy all minions if there are 8 or more on the board". Thanks to Titanic Ring chargers haven't reach my face.
-
View User Profile
-
Send Message
Posted Sep 17, 2019 (Saviors of Uldum)In normal the scaly golem buffs all murlocs so you want to keep yours alive, maybe finely would be a good hero to try it first with, also the mur-nado mana cost resets after each use.
Good kind of deck is a late-game tempo orientated deck.
Some luck required in him not getting chargers on the summon, resummon and transforms.